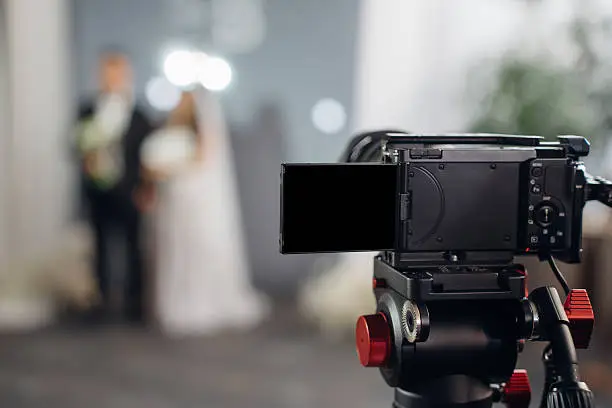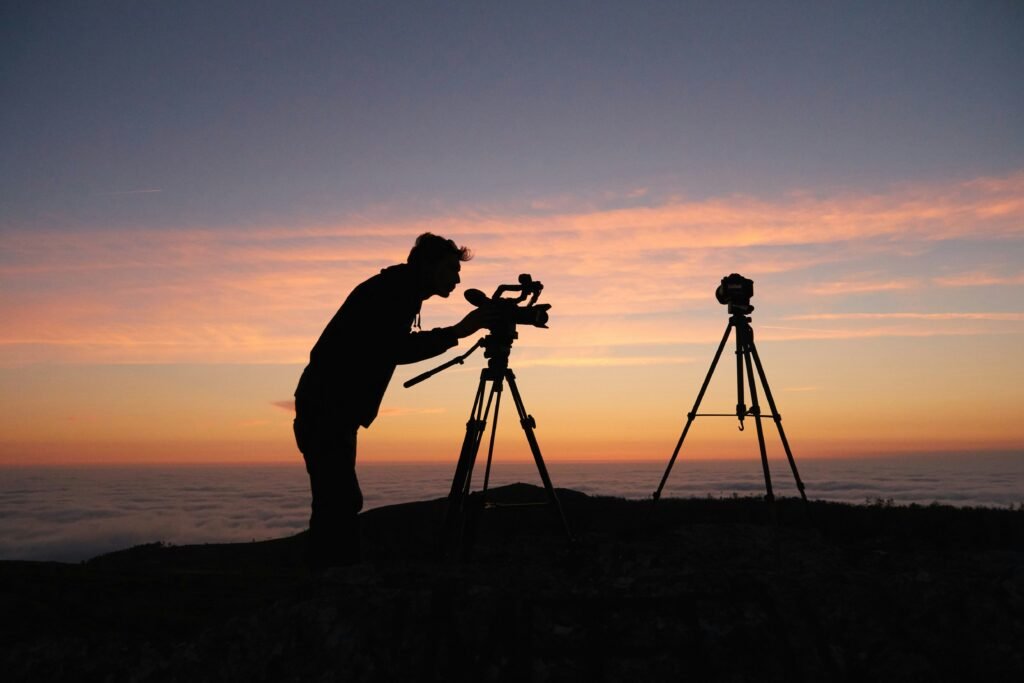
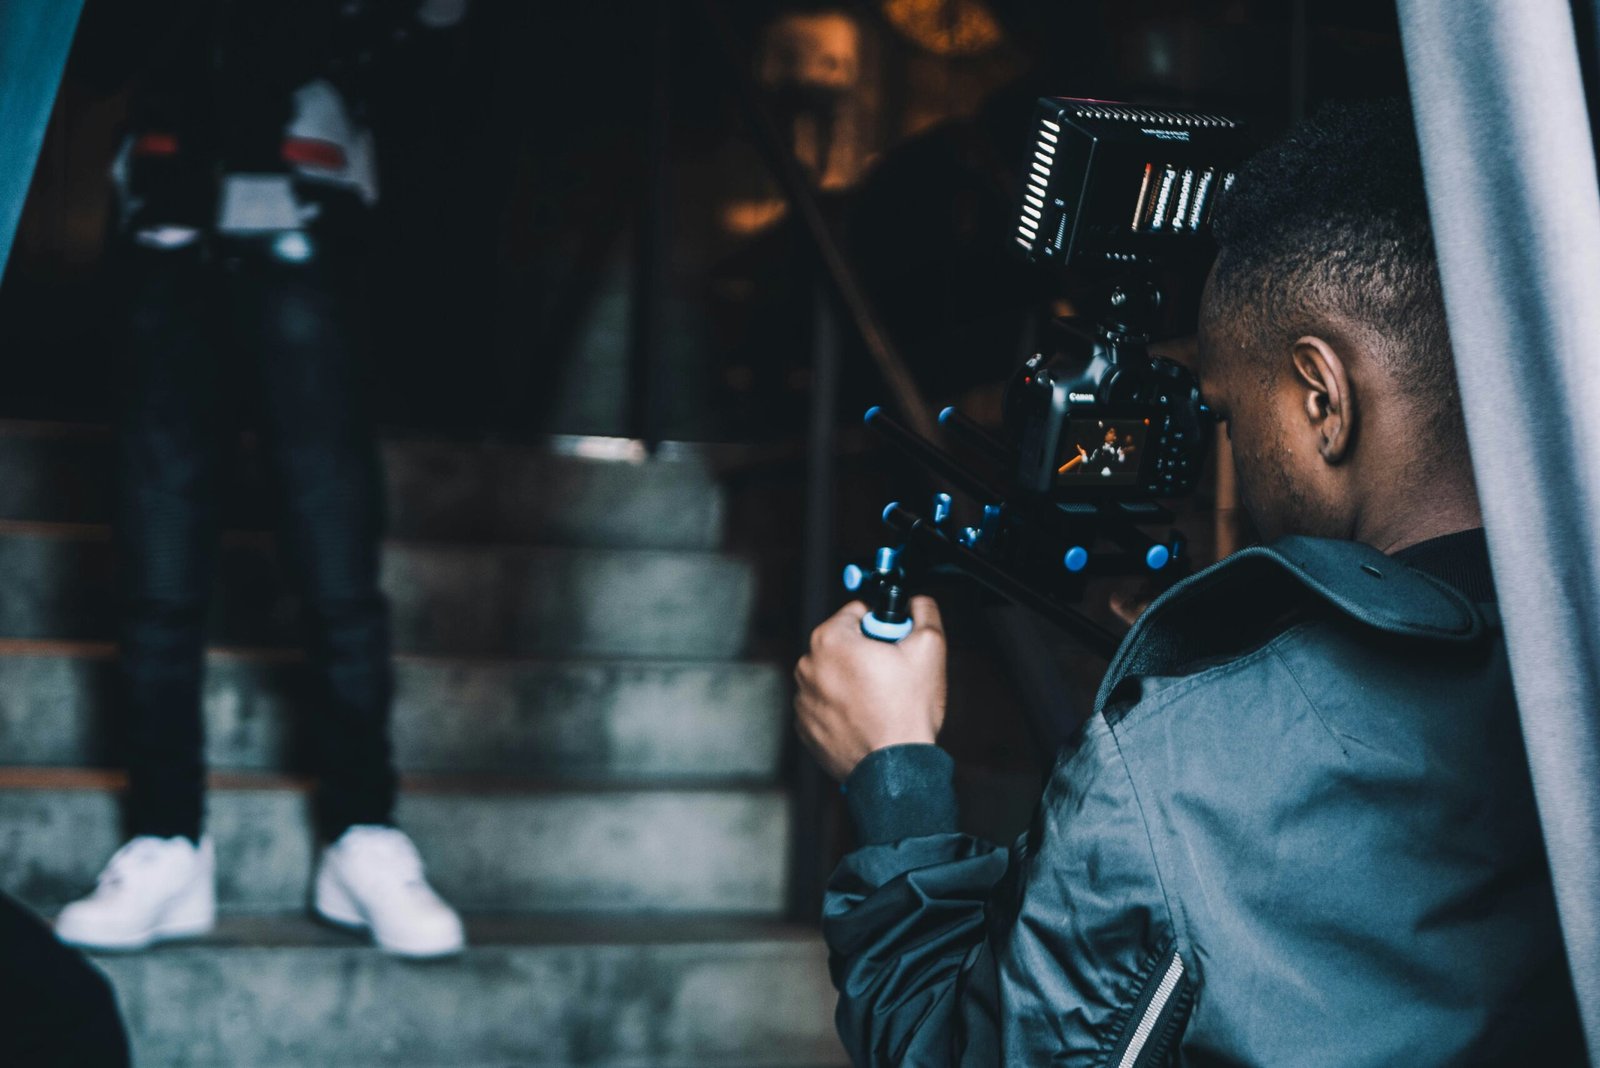
Photography and videography, in a nutshell, are about preserving moments. They’re tools that let us freeze time, tell stories, and share our perspectives on the world. Whether you’re looking to document family milestones, communicate complex ideas, or simply express your creativity, understanding the basics of how to capture images and motion is incredibly valuable. It’s not just about pointing and shooting; it’s about making conscious choices to create impactful visual narratives.
Before you even touch a camera, it’s worth understanding two key concepts that underpin all great images and videos: light and composition. These aren’t technical jargon; they’re the bedrock of visual storytelling.
The Power of Light
Light isn’t just about brightness; it’s about mood, texture, and dimension. How you use light can drastically change the feeling of your work.
- Natural Light: Often the most accessible and beautiful. Think about different times of day – the soft, warm glow of golden hour, the harsh midday sun, or the gentle diffusion of an overcast sky. Each offers unique qualities. Learning to work with existing light, rather than fighting it, is a game-changer.
- Artificial Light: When natural light isn’t enough or you need more control, artificial light comes into play. This can range from simple desk lamps to sophisticated studio setups. Understanding how to bounce light, diffuse it, or create shadows adds a whole new layer to your creative toolkit.
- Direction and Quality: Where is the light coming from? Is it frontal, side, or backlighting? Each creates different effects on your subject. Is it hard light, creating sharp shadows and high contrast, or soft light, offering gentle transitions? These choices directly impact the overall look and feel.
Composing Your Shot
Composition is essentially how you arrange elements within your frame. It’s about guiding the viewer’s eye and creating visual harmony.
- Rule of Thirds: This well-known guideline involves imagining a grid over your image, dividing it into nine equal sections. Placing key elements along these lines or at their intersections often creates more balanced and engaging compositions than simply centering everything.
- Leading Lines: Use natural or artificial lines in your environment to draw the viewer’s eye towards your main subject. Roads, fences, rivers, or even repeating patterns can serve as powerful leading lines.
- Framing: Use existing elements in your scene to create a natural frame around your subject. This could be a doorway, a window, tree branches, or even people in the foreground. Framing adds depth and focuses attention.
- Symmetry and Patterns: Human eyes are naturally drawn to symmetry and repeating patterns. Incorporating these into your composition can create visually appealing and harmonious images.
- Negative Space: Don’t be afraid of empty areas. Negative space around your subject can help it stand out, prevent clutter, and create a sense of calm or solitude.
Your Gear: Tools, Not Crutches
It’s easy to get caught up in the idea that you need the most expensive camera to create great work. While better equipment can offer more flexibility and higher fidelity, it’s the person behind the lens that truly matters.
Camera Types: What’s Right for You?
The right camera depends on your goals and budget.
- Smartphones: Let’s be real, modern smartphones are incredibly capable. They’re always with you, and their computational photography features are often impressive. For casual everyday captures, social media, and even some professional uses, they’re more than enough.
- Mirrorless and DSLRs: These offer manual control, interchangeable lenses, and larger sensors, leading to higher image quality, particularly in low light. They’re great for those who want to dive deeper into controlling every aspect of their image. Mirrorless cameras are generally lighter and more compact than DSLRs.
- Action Cameras (e.g., GoPro): Designed for durability and wide-angle shots, these are perfect for capturing adventures, sports, and unique perspectives where a traditional camera might be too cumbersome or vulnerable.
- Camcorders: While less common for enthusiasts now due to the rise of mirrorless/DSLRs for video, dedicated camcorders still have their place for long-form recording, broadcast, and specific professional scenarios.
Lens Choices for Different Visions
If you have a camera with interchangeable lenses, this is where a lot of creative freedom comes in.
- Kit Lenses: Often included with your camera, these are general-purpose lenses covering a decent focal range. They’re a good starting point for learning.
- Prime Lenses: These have a fixed focal length (e.g., 50mm). They often have wider apertures, allowing more light in and creating beautiful background blur (bokeh). They force you to “zoom with your feet,” encouraging more thoughtful composition.
- Zoom Lenses: Offer a range of focal lengths (e.g., 24-70mm). They provide versatility, allowing you to quickly change your field of view without changing lenses.
- Specialty Lenses: This category includes ultra-wide, telephoto, macro lenses for close-ups, and tilt-shift lenses for unique perspectives and focus control.
Essential Accessories
Beyond the camera and lenses, a few accessories can significantly improve your workflow and results.
- Tripod: Critical for sharp images in low light, long exposures, and stable video footage. A good tripod is an investment.
- Extra Batteries and Memory Cards: You never want to run out of power or storage space halfway through a shoot.
- Lighting Modifiers: Reflectors, diffusers, and softboxes (for artificial light) help you shape and control light, making a huge difference in the quality of your images.
- Microphones: For video, good audio is often just as, if not more, important than good visuals. A dedicated external microphone will almost always sound better than your camera’s built-in mic.
Photography: Freezing Moments in Time

Photography is all about that one decisive moment. It’s about capturing a split second that tells a story, evokes an emotion, or records a memory.
Mastering Your Camera Settings
Moving beyond automatic modes unlocks a world of creative control.
- Aperture (f-stop): Controls the amount of light entering the lens and, crucially, the depth of field (how much of your image is in focus). A smaller f-number (e.g., f/2.8) means a wider aperture, more light, and shallower depth of field (blurry background). A larger f-number (e.g., f/11) means a narrower aperture, less light, and greater depth of field (more of the image in focus).
- Shutter Speed: Determines how long the camera’s shutter stays open, controlling the amount of light and how motion is captured. A fast shutter speed (e.g., 1/1000s) freezes action. A slow shutter speed (e.g., 1/30s or longer) can create motion blur, useful for artistic effects or capturing light trails.
- ISO: Represents the camera sensor’s sensitivity to light. A lower ISO (e.g., 100) produces cleaner images but requires more light. A higher ISO (e.g., 1600+) allows you to shoot in darker conditions but introduces “noise” or grain into the image.
- The Exposure Triangle: Aperture, shutter speed, and ISO are interconnected. Adjusting one often requires adjusting another to maintain proper exposure. Understanding how they work together is fundamental to manual shooting.
- White Balance: Ensures that white objects appear white in your image, correcting for the color temperature of your light source (e.g., warm indoor light vs. cool outdoor light).
Different Photography Genres
Exploring various photography styles can help you find your niche and develop your skills.
- Portrait Photography: Focusing on individuals or groups, aiming to capture their personality and emotion. Lighting and posing are key here.
- Landscape Photography: Capturing the beauty of natural or urban environments. Composition, light, and often patience are crucial for striking landscape shots.
- Street Photography: Documenting candid moments and the essence of public life. It requires quick reflexes and an eye for interesting interactions.
- Macro Photography: Extreme close-up photography, revealing intricate details of small subjects like insects or flowers.
- Event Photography: Capturing the atmosphere and key moments of events like weddings, concerts, or conferences. Requires adaptability and attention to detail.
Videography: Bringing Stories to Life

Videography adds another dimension: movement and sound. It’s about crafting a narrative over time.
Essential Video Concepts
While there’s overlap with photography, video introduces its own set of considerations.
- Frame Rate (FPS): How many individual frames are captured per second. Common rates are 24fps (cinematic feel), 30fps (standard video), and 60fps (smoother, good for slow motion). Higher frame rates allow for more dramatic slow-motion effects.
- Shutter Angle/Speed: For video, a good rule of thumb is to set your shutter speed to double your frame rate (e.g., for 24fps, use 1/48s or 1/50s). This creates natural-looking motion blur.
- Resolution: 1080p (Full HD) is standard, while 4K offers higher detail and more flexibility in post-production. The higher the resolution, the larger the file sizes.
- Stabilization: Shaky footage is often distracting. Techniques include using a tripod, monopod, gimbal, or relying on in-camera/post-production stabilization.
Crafting a Visual Narrative
Video isn’t just a collection of clips; it’s a story unfolding.
- Shot Types: Understanding different shot types helps you tell your story effectively.
- Wide Shot (Establishing Shot): Orients the viewer to the location.
- Medium Shot: Shows a subject from the waist up, good for dialogue.
- Close-Up: Focuses on details or emotions (e.g., a face, an object).
- Over-the-Shoulder Shot: A common shot in conversations, showing one person from behind the shoulder of another.
- Movement: Camera movement can add dynamism and emotion.
- Pans: Moving the camera horizontally.
- Tilts: Moving the camera vertically.
- Dolly Shots: Moving the entire camera setup forwards or backward.
- Tracking Shots: Moving the camera alongside a subject.
- The Importance of Audio: Good audio can make or break your video. External microphones are crucial for clear dialogue and ambient sound. Consider different mic types like lavalier mics (for individual speakers), shotgun mics (directional), or even basic recorders for ambient sound.
- Storyboarding: Especially for planned video projects, sketching out key shots and sequences before filming can save a lot of time and ensure your vision is communicated effectively.
Post-Production: The Final Polish
| Category | Photography | Videography |
|---|---|---|
| Equipment | Camera, lenses, tripod | Camera, lenses, stabilizer |
| Skills | Composition, lighting, editing | Storyboarding, framing, editing |
| Output | Photos | Videos |
| Usage | Portraits, landscapes, events | Weddings, commercials, documentaries |
Capturing the image or video is only half the battle. Post-production is where you refine, enhance, and assemble your work into its final form.
Photo Editing Essentials
Even the best photos benefit from some post-processing.
- Software Choices: Options range from free (like Google Photos, Snapseed) to professional (Adobe Lightroom, Photoshop) and open-source alternatives (GIMP, Darktable).
- Basic Adjustments:
- Exposure: Brighten or darken the image.
- Contrast: Increase or decrease the difference between light and dark areas.
- Highlights/Shadows: Recover detail in bright or dark areas.
- White Balance: Correct color casts.
- Cropping and Straightening: Improve composition and fix horizons.
- Color Grading: Adjusting the overall color palette of an image to evoke a certain mood or style.
- Retouching: Removing distractions, smoothing skin, or making minor adjustments (use sparingly to maintain authenticity).
- Non-Destructive Editing: Work in a way that doesn’t permanently alter your original file, always keeping the option to revert changes.
Video Editing Workflow
Video editing is assembling your footage, adding sound, and refining the flow.
- Software Choices: From beginner-friendly options like iMovie or DaVinci Resolve (free version) to more robust tools like Adobe Premiere Pro, Final Cut Pro, or professional-grade DaVinci Resolve Studio.
- Ingest and Organization: The first step is to transfer your footage and organize it logically. Labeling and categorizing clips save a lot of headaches later.
- Rough Cut: Assemble your main story beats and sequences. Don’t worry about perfection; just get the chronological flow down.
- Fine Cut: Refine your cuts, adjust timing, and ensure smooth transitions.
- Audio Editing: Clean up audio, add music, sound effects, and adjust levels to ensure everything sounds balanced and clear.
- Color Correction & Grading: Correct any color inconsistencies between shots and then apply an overall color grade to establish the visual tone of your video.
- Adding Graphics and Titles: Incorporate text, lower thirds, or motion graphics to convey information or enhance your message.
- Exporting: Choose the appropriate format, resolution, and bit rate for your intended platform (e.g., YouTube, Instagram, TV broadcast).
Continuous Learning and Practice
Photography and videography are skills that are honed over time through consistent effort.
Experiment and Take Risks
Don’t be afraid to try new things. Shoot in challenging light, experiment with unusual angles, or attempt a genre you’ve never tried before. Some of the most interesting results come from going beyond your comfort zone.
Learn from Others
Look at the work of photographers and videographers you admire. Analyze what makes their work effective. Don’t just copy, but understand why their choices work and how you can apply those principles to your own style. Tutorials, workshops, and online courses are also fantastic resources.
Review and Critiques
Look at your own work critically. What went well? What could have been better? Sharing your work with trusted friends or a community and asking for constructive feedback can be incredibly valuable for growth. Be open to different perspectives.
The Story is Key
Ultimately, whether you’re taking a still photo or shooting a video, what truly matters is the story you’re telling. Does it evoke emotion? Does it convey information clearly? Does it capture the essence of the moment? Focus on these questions, and your technical skills will naturally develop to serve your narrative goals. It’s an ongoing journey of observation, creativity, and technical refinement, and it’s a pretty rewarding one at that.