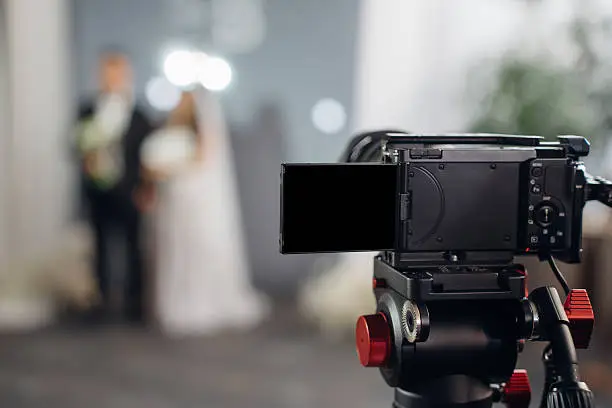
Photography and videography are more than just pointing a camera and pressing a button; they’re about capturing tiny slivers of time, moments that would otherwise vanish. In essence, these mediums allow us to freeze emotions, stories, and scenes, preserving them for ourselves and for others to experience later. It’s a powerful way to document life, express creativity, and communicate ideas without needing a single word. Think of it as a universal language that speaks volumes through light, composition, and movement.
While it’s easy to get caught up in the latest and greatest camera models, understanding the basics of your equipment is far more valuable. You don’t need the most expensive gear to create stunning images or videos, but knowing how your existing tools work will unlock their full potential.
The Exposure Triangle Explained
This is the cornerstone of understanding how your camera sees and records light. It consists of three interrelated settings:
- Aperture: This refers to the opening in your lens that lets light hit the sensor. A wider aperture (smaller f-number like f/2.8) creates a shallow depth of field, blurring the background nicely and isolating your subject. A narrower aperture (larger f-number like f/16) keeps more of the scene in focus, which is great for landscapes.
- Shutter Speed: This is how long your camera’s sensor is exposed to light. A fast shutter speed (e.g., 1/1000th of a second) freezes action, perfect for sports or fast-moving subjects. A slow shutter speed (e.g., 1/30th of a second or slower) can create motion blur, which can be artistic for things like waterfalls or light trails.
- ISO: This setting determines your camera’s sensitivity to light. A lower ISO (e.g., 100) produces a cleaner image but requires more light. A higher ISO (e.g., 1600 or 3200) lets you shoot in darker conditions but introduces “noise” or grain into your image. Balancing these three is key to getting a well-exposed shot.
Lens Choices and Their Impact
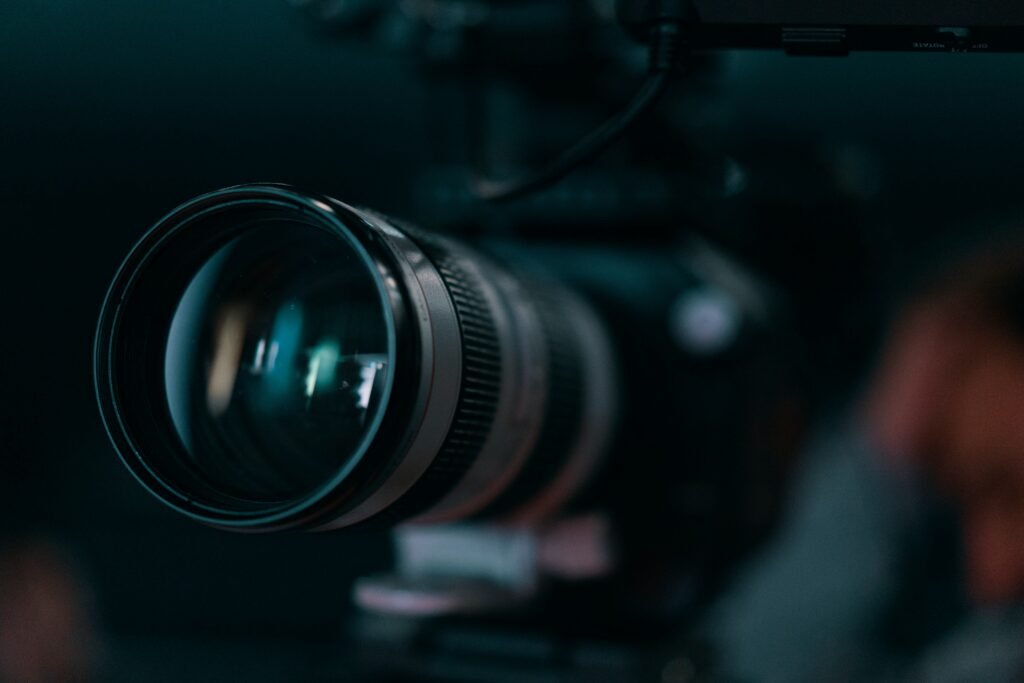
Your lens is arguably more important than your camera body when it comes to the final look of your image. Different lenses serve different purposes:
- Prime Lenses: These have a fixed focal length (e.g., 50mm, 85mm) and typically have wider apertures, making them excellent in low light and for achieving beautiful background blur. They often offer superior image quality.
- Zoom Lenses: These allow you to change your focal length without changing lenses (e.g., 24-70mm, 70-200mm). They’re versatile but can be heavier and might not have as wide apertures as primes.
- Wide-Angle Lenses: Ideal for landscapes, architecture, and interior shots where you want to capture a broad perspective.
- Telephoto Lenses: Great for wildlife, sports, and portraits where you want to compress the background or get closer to a distant subject.
Composition: The Art of Seeing
Knowing how to operate your camera is one thing; knowing where to point it and how to arrange elements within your frame is another entirely. Good composition can elevate a simple snapshot into a compelling image.
Rule of Thirds
This is probably the most fundamental compositional guideline. Imagine your frame divided into nine equal sections by two horizontal and two vertical lines. Instead of placing your main subject directly in the center, try positioning it along these lines or, even better, at their intersections. This often creates a more dynamic and visually engaging image.
Leading Lines
These are natural or man-made lines within your scene that draw the viewer’s eye towards your main subject or deeper into the photograph. Roads, fences, rivers, bridges, or even rows of trees can serve as leading lines, adding depth and direction to your shot.
Framing
Using natural elements within your scene to frame your subject can add context and a sense of depth. This could be a doorway, a window, tree branches, or even people in the foreground. It helps to guide the viewer’s attention directly to what you want them to see.
Symmetry and Patterns
Humans are naturally drawn to symmetry and repeating patterns. Incorporating these into your shots can create a sense of balance, order, and visual interest. Be mindful though, that sometimes breaking symmetry can be just as impactful.
Negative Space
This refers to the empty or uncluttered areas around your subject. Don’t be afraid to leave some breathing room! Negative space can simplify your composition, make your subject stand out, and create a sense of calm or drama. It’s about what you choose to leave out as much as what you include.
Storytelling Through Videography

Videography isn’t just a series of moving pictures; it’s about crafting a narrative, evoking emotions, and transporting your audience. It combines many elements of photography with the added dimension of time, sound, and movement.
Understanding the Shot List
Before you even hit record, having a plan is crucial. A shot list helps you think through the different angles, perspectives, and types of shots you’ll need to tell your story effectively.
- Wide Shots: Establish the scene, showing the environment and context.
- Medium Shots: Bring the viewer closer to the subject, often showing them from the waist up. Good for interactions and showing some environment.
- Close-up Shots: Focus on a specific detail, an emotion, or an important object. These are powerful for conveying intimacy or highlighting details.
- Over-the-Shoulder Shots: Often used in conversations, placing the camera over one character’s shoulder, looking at the other.
- Point-of-View (POV) Shots: Shows what a character sees, immersing the viewer in their perspective.
The Importance of Sound
This is often overlooked, but sound makes an enormous difference in video. Good audio quality can elevate even mediocre footage, while poor audio can ruin otherwise excellent visuals.
- Diegetic Sound: Sounds that originate from the world of the film, like dialogue, footsteps, or ambient background noise.
- Non-Diegetic Sound: Sounds added in post-production, like background music, voiceovers, or sound effects that aren’t physically present in the scene.
- External Microphones: Relying on your camera’s built-in microphone is often a recipe for disaster. Investing in a shotgun mic, lavalier microphone, or external recorder will dramatically improve your audio quality.
Basic Camera Movements
Movement adds dynamism and can guide the viewer’s attention.
- Pan: Moving the camera horizontally (left or right) from a fixed position, often used to follow a subject or reveal a wider scene.
- Tilt: Moving the camera vertically (up or down) from a fixed position, useful for revealing height or focusing on details.
- Dolly/Tracking: Moving the entire camera physically forward, backward, or alongside a subject using a slider or track. This creates a sense of movement within the scene.
- Zoom: Changing the focal length of your lens to get closer or further away from your subject. Use sparingly and smoothly, as overusing it can look amateurish.
Lighting: Painting with Light

Light is the raw material of both photography and videography. Understanding how to use it effectively, whether natural or artificial, is critical to creating impactful images.
Natural Light Mastery
The sun is the most powerful and versatile light source you have. Learning to work with it is a game-changer.
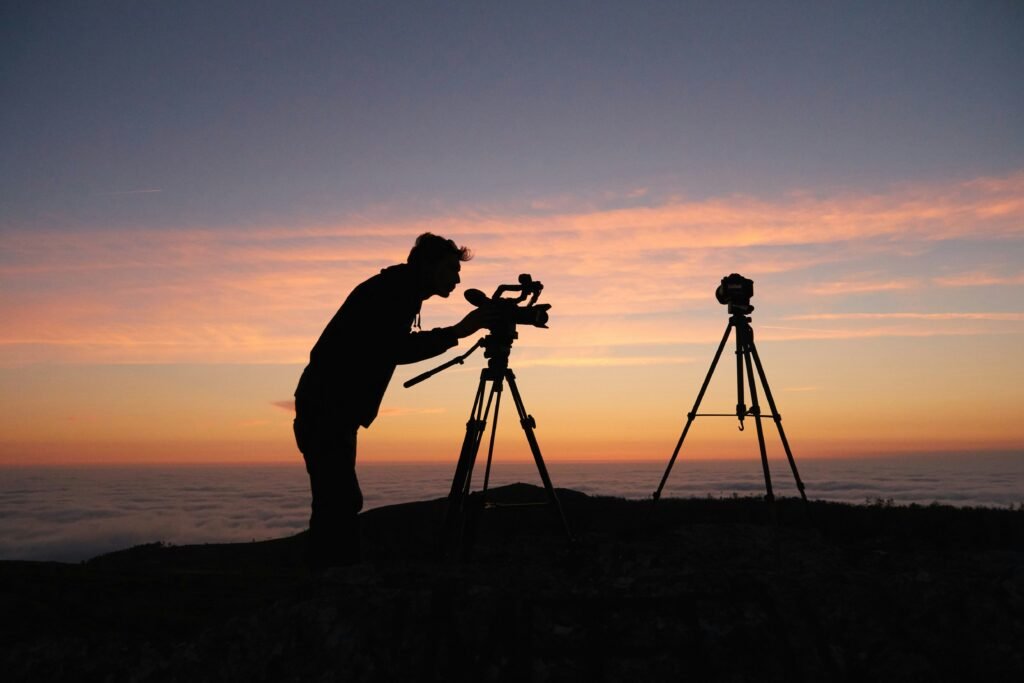
- Golden Hour: The hour after sunrise and the hour before sunset. The light is soft, warm, and creates long, flattering shadows. It’s often considered the best time for outdoor photography and videography.
- Blue Hour: The period just before sunrise or after sunset when the sky takes on a deep blue hue. It’s great for cityscapes or creating a moody atmosphere.
- Overcast Days: Often preferred by portrait photographers because the clouds act as a giant softbox, diffusing the light and minimizing harsh shadows.
- Direct Sunlight (Midday): Can be challenging due to harsh shadows and blown-out highlights. If you must shoot in it, try to find open shade or use reflectors/diffusers to soften the light.
Artificial Lighting Basics
When natural light isn’t enough or you want more control, artificial lights come into play.
- Key Light: The primary light source, typically the brightest. It illuminates the main subject and sets the overall mood.
- Fill Light: A softer light used to reduce the shadows created by the key light. It should be less intense than the key light.
- Backlight/Hair Light: Placed behind the subject, it separates them from the background, creating a subtle rim of light around their edges. This adds depth and dimensionality.
- Modifiers: These are tools used to shape, soften, or direct light. This includes diffusers (soften light), reflectors (bounce light), and grids (concentrate light).
Post-Production: Refining Your Vision
| Category | Metrics |
|---|---|
| Photography | Number of photos taken |
| Photography | Percentage of photos edited |
| Videography | Hours of footage captured |
| Videography | Number of video projects completed |
The journey doesn’t end when you press the shutter or stop recording. Post-production is where you take your raw footage and transform it into a polished final product, refining your vision and enhancing the story.
Photo Editing Workflow
Even professional photographers edit their images. It’s not about making them fake, but about bringing out their full potential.
- Culling: The first step is to go through your images and select the best ones, discarding those that are out of focus, poorly composed, or redundant. Be ruthless!
- Basic Adjustments: This includes correcting exposure, adjusting contrast, tweaking highlights and shadows, and setting the white balance to ensure accurate colors.
- Color Grading: This involves adjusting the overall color palette of your image to evoke a specific mood or style. Think warm, cool, vibrant, or desaturated.
- Cropping and Straightening: Correcting horizons and improving composition by cropping out distracting elements.
- Retouching (Optional): For portraits, this might involve skin smoothing, removing blemishes, or subtly enhancing features. For landscapes, it could be removing a distracting power line.
Video Editing Essentials
Video editing is a more complex beast, combining visuals, audio, and pacing to create a coherent narrative.
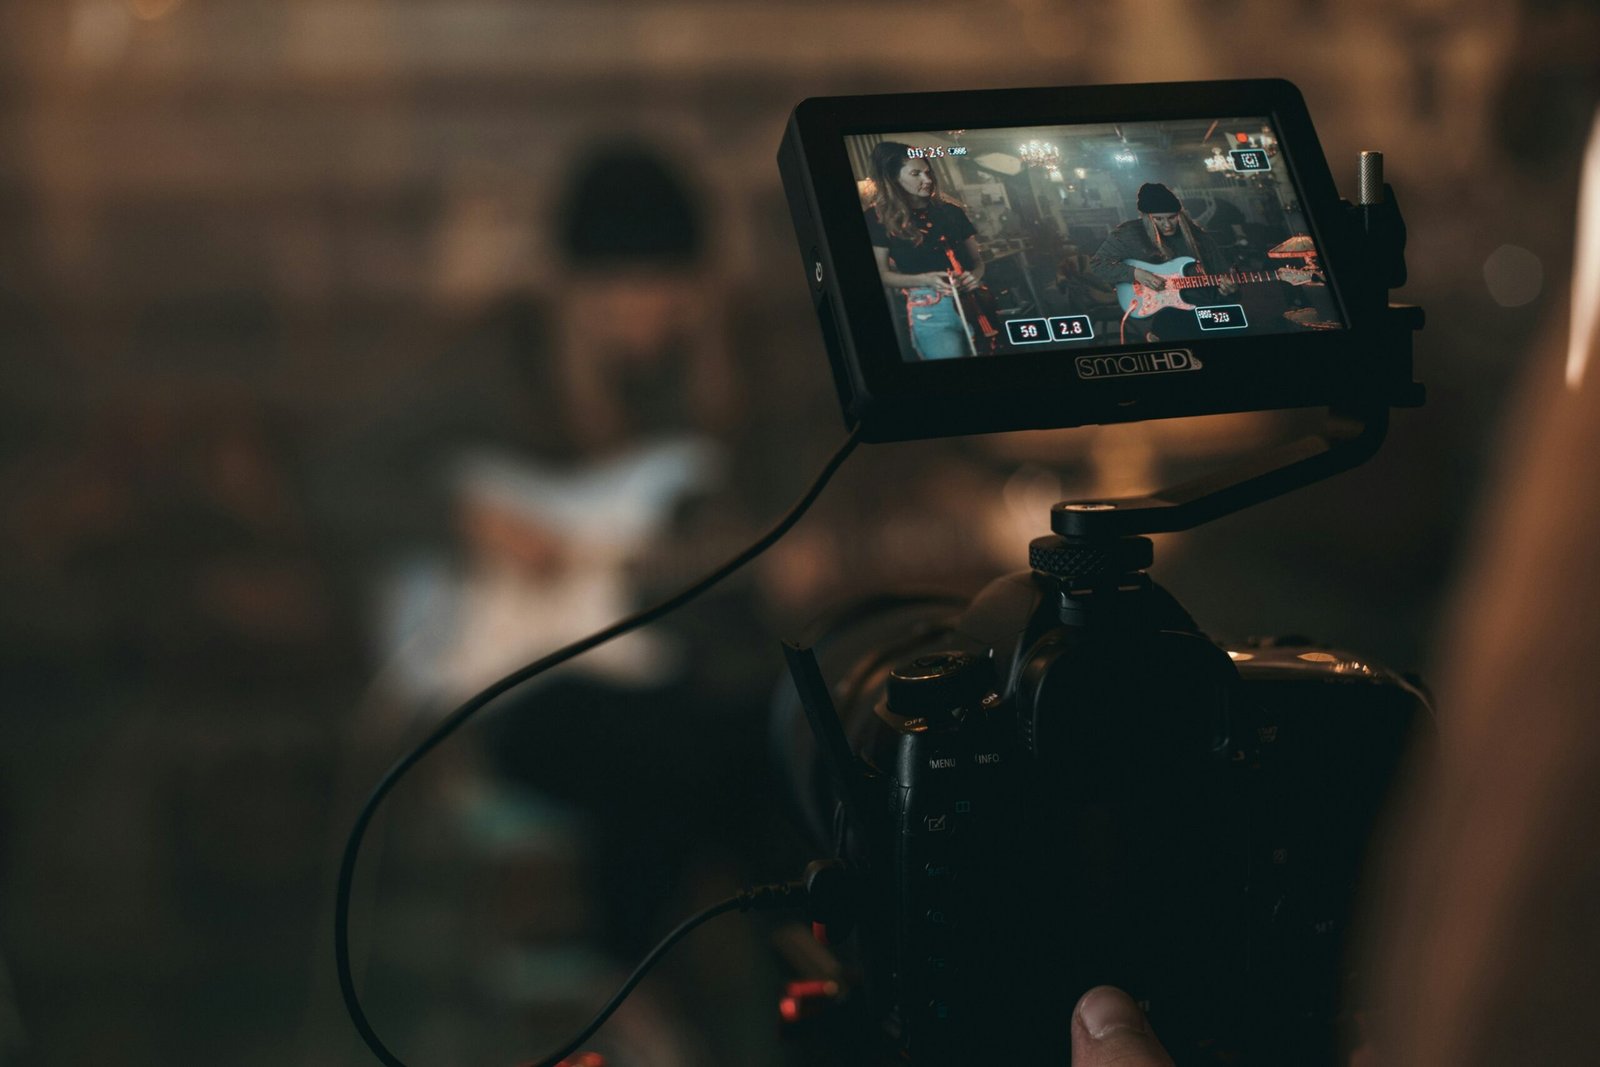
- Importing and Organizing: Get your clips into your editing software (e.g., Adobe Premiere Pro, DaVinci Resolve, Final Cut Pro) and organize them into bins or folders for easy access.
- Assembling the Rough Cut: Place the best takes in chronological or narrative order, focusing on the story without worrying too much about perfection yet.
- Trimming and Pacing: Cut out unnecessary footage, tighten up clips, and adjust the timing to create a smooth, engaging flow. Good pacing keeps the viewer interested.
- Adding Music and Sound Effects: Select music that complements the mood of your video and add sound effects to enhance realism or drama. Ensure your audio levels are balanced.
- Color Correction and Grading (Video): Just like in photography, this step ensures consistent color and a desired aesthetic across all your clips.
- Titles, Graphics, and Transitions: Add opening and closing titles, lower thirds for identifying people, and subtle transitions between clips. Avoid over-the-top transitions unless they serve a specific stylistic purpose.
- Exporting: Choose the appropriate settings (resolution, frame rate, bitrate) for your final output, whether it’s for social media, YouTube, or archival purposes.
The Journey of Continuous Learning
Photography and videography are crafts that you never truly master; you just keep getting better. Embrace experimentation, learn from your mistakes, and be open to new techniques and technologies. Join online communities, watch tutorials, read articles, and most importantly, practice constantly. Every shot you take and every video you edit is an opportunity to improve. The beauty of it all is that your unique perspective, your way of seeing the world, is what truly makes your work stand out. So go out there, capture those moments, and tell your story.